


Build Your Own DIY Cat Tower for UK Homes
Building your own DIY cat tower is one of those brilliantly rewarding projects. You get to create a custom-made playground that’s a perfect match for your cat's personality and, just as importantly, fits right in with your home's style. The whole process boils down to three main stages: picking a design, grabbing some cat-safe materials like untreated wood and sisal rope, and then following a solid plan to put it all together.
Doing it yourself isn't just about saving money; it’s about giving your cat the ultimate vertical sanctuary, built with love.
Why Build a DIY Cat Tower
The decision to build a cat tower yourself goes way beyond saving a few quid. It's your chance to craft a piece of bespoke feline furniture that you'd never find in a shop. You have total control over the design, the materials, and the overall size, making sure the finished structure is a perfect fit for your cat and your living space.
This is a huge plus here in the UK, where our homes are often on the cosier side. A custom-built tower can make clever use of vertical space in a small flat, turning a forgotten corner into your cat's favourite hangout.
Tailor the Tower to Your Cat's Quirks
Every cat is a character, and a DIY project lets you build something that speaks directly to their weird and wonderful ways.
- Got a climber? If your cat treats your curtains like a climbing wall, build a tall tower with plenty of staggered platforms to satisfy their inner mountaineer.
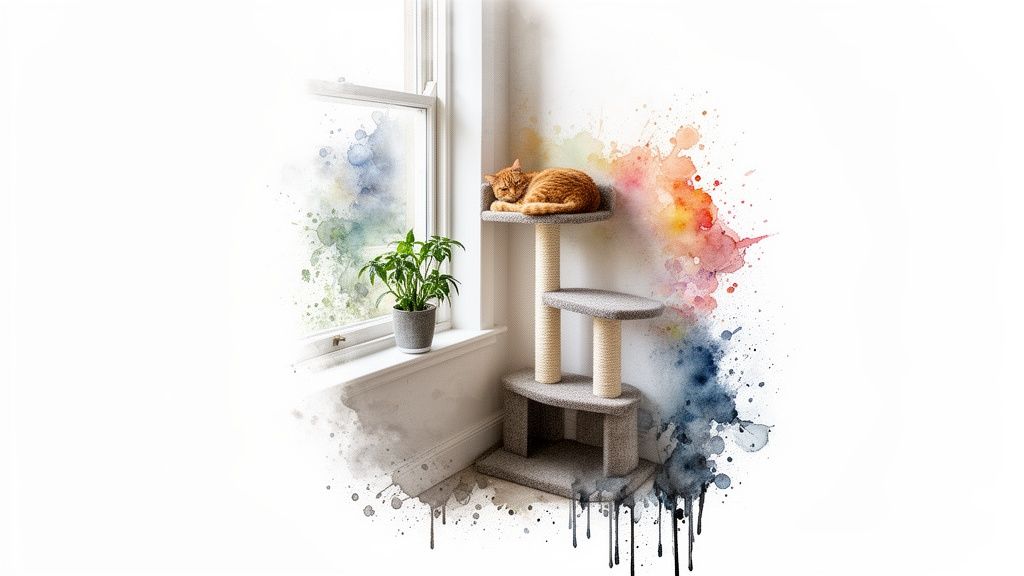
- Is yours a lounger? For the cat who lives for a good sunbathe, you can design wide, comfy perches and place the tower right by a window.
- Dealing with a scratcher? You can wrap posts in tough sisal rope exactly where your cat loves to stretch and scratch, which might just save your sofa.
A custom tower isn't just a toy; it's an enrichment tool. It gives indoor cats the mental and physical stimulation they need to stay happy and healthy, mimicking the climbing and perching they’d do outside.
Blend Style with Functionality
Let’s face it, a lot of commercial cat trees are a bit of an eyesore. They tend to stick out, often covered in bland beige carpet. When you build your own, you’re in the driver’s seat. You can stain the wood to match your other furniture or pick out a fabric that complements your room’s colour scheme.
With cat ownership in the UK on the rise—we’re now a nation of around 11 million cats—the need for good indoor enrichment has never been greater. Around 26-28% of households now have a cat, and particularly in cities where garden access is limited, providing that all-important vertical space is key. A DIY tower is a brilliant fix, and you could see savings of up to 70% compared to buying off the shelf.
A well-designed DIY cat tower becomes a stylish part of your home, not just another bit of pet kit. If you have more than one cat, it's also a great way to keep the peace by creating separate territories and lookout spots. Building one yourself is a practical, satisfying project that's a real investment in your pet’s well-being. For more ways to look after your furry friends, check out our other guides for pets at home.
Choosing the Right Tools and Materials
Before you even think about cutting the first piece of wood, getting your shopping list right is the secret to a successful cat tower build. Pulling together the best components from the get-go means the whole process will be smoother, and you'll end up with a safe, sturdy tower your cat will actually use. Let's walk through the essential tools and materials, focusing on things you can easily find in the UK that are completely cat-friendly.
Your Essential DIY Cat Tower Shopping List
Heading to the hardware shop can be a bit overwhelming, but it doesn't have to be. I've put together a simple checklist to make sure you grab everything you need without any fuss. Think of it as your recipe for a perfect cat tower.
| Category | Item | Why It's a Good Choice |
|---|---|---|
| Structure (The Bones) | 18mm Plywood or Solid Pine | Sturdy, affordable, and easy to work with. Avoid MDF—it can crumble and may contain nasty adhesives. |
| 4x4 Timber Posts | Perfect for the vertical scratching posts. You could even use a thick, dried tree branch for a rustic vibe. | |
| Wood Screws & L-Brackets | The key to a wobble-free tower. Don't skimp here; strong connections are everything. | |
| Scratching (The Fun Bit) | Natural Sisal Rope (6-10mm thick) | This is the gold standard. Cats love the coarse texture, and it's brilliant for keeping their claws in check. |
| Comfort (The Cosy Bits) | Carpet Offcuts or Fleece Fabric | Great for lining platforms and beds. Pop into a local carpet shop—they often have cheap remnants. |
| Tools (The Essentials) | Cordless Drill & Bits | This will be your best friend for driving screws and drilling pilot holes. A must-have. |
| Tape Measure & Pencil | The old saying is true: measure twice, cut once. Accuracy is your ally. | |
| Jigsaw or Hand Saw | A hand saw works fine for straight cuts, but a jigsaw makes cutting curved platforms a doddle. | |
| Heavy-Duty Staple Gun | Absolutely essential for attaching the sisal rope and carpet securely. | |
| Sandpaper or Palm Sander | For smoothing down all the edges. No one wants splinters, least of all your cat. |
Once you’ve got all your supplies, you're ready for the fun part—the build! Having everything laid out and ready to go makes a world of difference.
Picking the Best Materials for the Job
Your choice of materials is the most critical decision you'll make for the safety and stability of the tower. For the main structure, you really can’t beat solid pine or a good quality untreated plywood. They’re strong enough to handle even the most enthusiastic cat-robatics.
When it comes to the fun stuff—the scratching posts and snoozing spots—texture is everything. Natural sisal rope is the undisputed champion for scratching. That coarse, shreddable surface is exactly what a cat's claws crave. For the lounging areas, you can't go wrong with low-pile carpet remnants or some soft fleece. They add a touch of luxury without the danger of long loops that can snag a claw.
The goal here is a structure that can withstand a full-pelt, flying leap. Your connections have to be rock-solid. Use good quality wood screws and seriously consider adding a few metal L-brackets at key joints. It’s a small step that adds a huge amount of peace of mind.
It’s no surprise that DIY is booming, especially with 12 million cats now living in UK homes. Many new owners are looking for affordable, rewarding projects just like this. A simple cat tower can be built for as little as £15, while a more ambitious design might cost closer to £50 using basic hardware. For more on the latest pet trends, the Pet Food Manufacturers' Association has some fascinating data.
And if you’re looking for a great selection of affordable hardware to get started, you can explore our curated collections of DIY essentials.
Three Practical Plans for Your DIY Cat Tower
Right, with your materials sorted, we can get to the fun part: actually building your cat’s new favourite spot. I’m going to walk you through three different plans for a DIY cat tower, each one designed with different skills, spaces, and cat personalities in mind.
We’ll kick things off with a simple design that’s perfect for first-timers or anyone living in a smaller flat. From there, we'll level up to a more ambitious structure for homes with a whole feline family. And finally, we'll look at a really clever, budget-friendly option that uses bits and pieces you might already have lying around.
No matter which one you choose, the basic idea is always the same: build a solid structure, wrap it for grip, and then make it comfy.
This flowchart gives you a quick visual on how the core components come together.
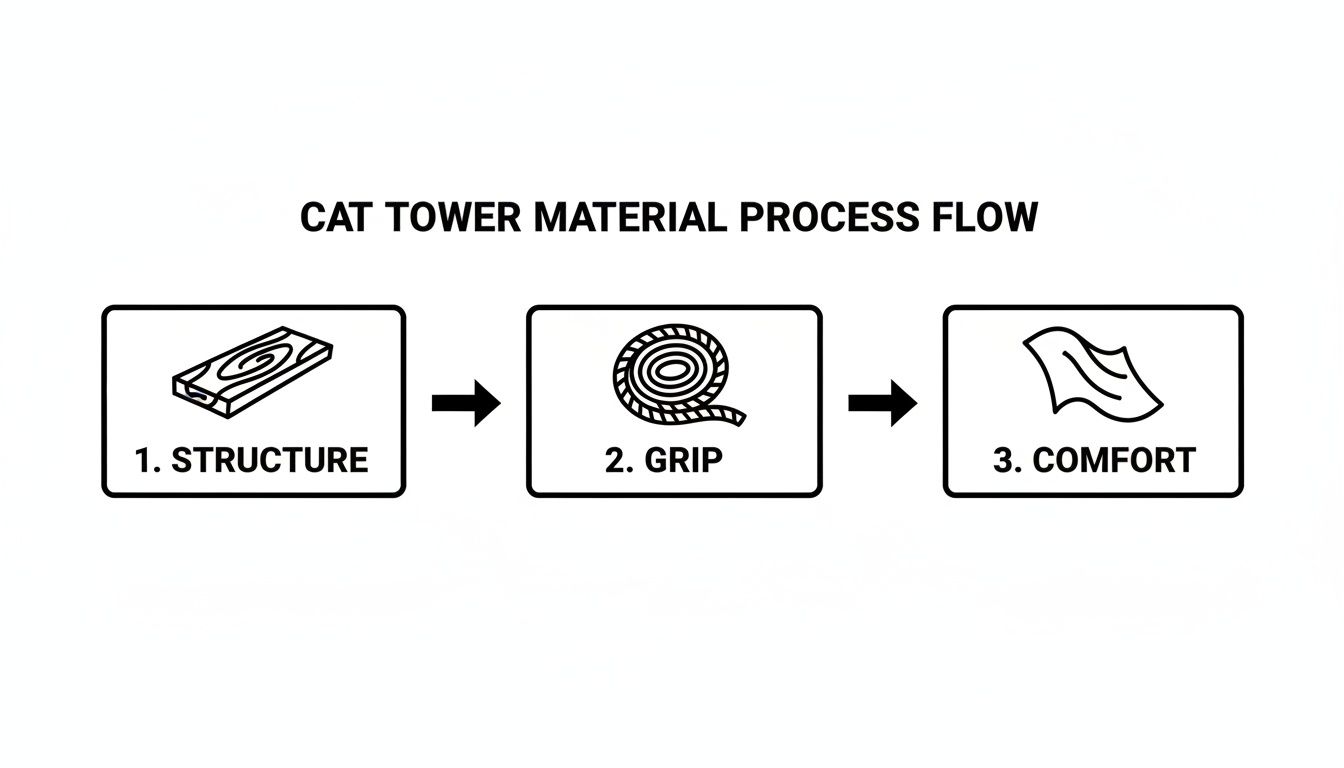
As you can see, every good cat tower balances these three things to create something safe, fun, and cosy.
Plan One: The Compact Climber
Think of this as your perfect entry point into the world of cat furniture. It’s designed specifically for tight spaces, like the average UK flat where every square foot counts. The Compact Climber is all about going up, giving your cat the height it naturally loves without eating into your floor space.
What You'll Need:
- A 60cm x 60cm square of 18mm plywood for the base. This is your anchor.
- One 1.5m length of 4x4 timber post (that’s about 90mm x 90mm).
- Two 30cm x 40cm rectangles of 18mm plywood for the perches.
- A box of 60mm wood screws.
- Four heavy-duty L-brackets for peace of mind.
- 30m of 8mm natural sisal rope.
- Carpet offcuts or a bit of fleece to cover the base and platforms.
- A heavy-duty staple gun and staples.
- Good quality, non-toxic wood glue.
Putting It Together: First up, cover the 60cm x 60cm base with your carpet or fleece. Pull it taut and use the staple gun to fix it securely underneath. Now, find the dead centre of the base and put a generous dollop of wood glue there. Plonk your 1.5m timber post right on top, making sure it’s standing straight.
From underneath the base, drive four 60mm screws up into the bottom of the post. This creates your main connection. For rock-solid stability, fix the four L-brackets around the post, screwing them firmly into both the base and the post. This step is absolutely vital to stop it from wobbling when your cat launches itself at it.
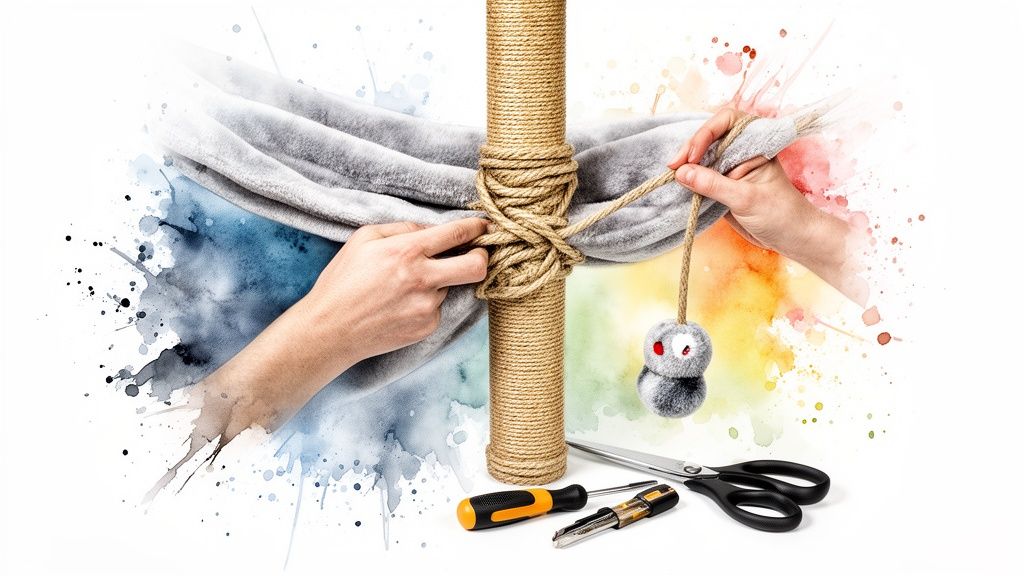
Next, it’s time to wrap the post with sisal rope. Start at the very bottom, securing the end with a few staples. Wind the rope as tightly as you possibly can, knocking each coil down against the previous one to keep it snug. When you get to the top, secure the end with more staples.
Cover your two smaller platforms with carpet. Attach the first one about halfway up the post and the second one right at the top. It’s a good idea to stagger them so your cat has a clear climbing path. To fix them, drive at least three screws down through each platform directly into the post, using a triangle pattern for the best strength.
Builder's Insight: The real secret to a stable tower isn't just a heavy base; it's a wide base. Your base should always be wider than the highest platform. It's a simple bit of physics that will stop it from tipping, no matter how much of a zoomie your cat has.
Plan Two: The Multi-Cat Manor
If you've got more than one cat, you already know that territory is everything. The Multi-Cat Manor is a bigger project, but it’s designed to give everyone their own perch, hideaway, and scratching spot to keep the peace.
This design uses two posts of different heights and includes a cosy box for snoozing.
What You'll Need:
- One 70cm x 90cm rectangle of 18mm plywood for the extra-large base.
- One 1.8m and one 1.2m length of 4x4 timber posts.
- Three 40cm x 50cm rectangles of 18mm plywood for platforms.
- Five pieces of 40cm x 40cm plywood to build the sleeping box.
- A box of 60mm and 40mm wood screws.
- Eight heavy-duty L-brackets.
- 50m of 10mm natural sisal rope.
- Carpet remnants or fleece fabric.
Putting It Together: Start by carpeting the large base. Decide where you want your two posts to go – place the taller 1.8m post near one end and the shorter 1.2m one towards the other, leaving a good bit of space between them. Secure both posts from below using the same glue, screws, and L-bracket method as the Compact Climber.
Now, wrap both posts completely with the 10mm sisal rope. You want as much scratching surface as possible here; it helps prevent squabbles over who gets to scratch where.
Time to build the sleeping box. Take your five 40cm plywood squares and assemble them into a cube, leaving one side open. Use wood glue and 40mm screws to join the pieces. Before you put it all together, use a jigsaw to cut a cat-sized doorway into one of the side panels. Once it's built, cover the whole thing, inside and out, with soft fleece.
Mount the box on top of the shorter 1.2m post. Then, attach the three platforms at different heights on the taller post to create a kind of staircase. Just make sure one of the platforms is positioned to make it an easy hop across to the sleeping box. Fix everything in place by screwing down through the platforms and box into the tops of the posts.
Plan Three: The Upcycled Wonder
A brilliant cat tower doesn't have to start with a trip to B&Q for brand new materials. This plan is all about getting creative and resourceful by using reclaimed wood and other bits to build something truly unique and eco-friendly.
The Big Idea: The goal here is to find sturdy, existing items and combine them into a cat tree. We’re talking old wooden crates, solid wood drawers from a knackered chest of drawers, or even a small, sturdy stepladder.
Potential Materials:
- Base: A heavy, flat piece of reclaimed wood works perfectly. An old tabletop or a thick offcut from a kitchen worktop would be ideal.
- Levels: Old wooden wine crates, solid drawers, or sturdy shelves make fantastic platforms and hidey-holes.
- Posts: Thick, solid tree branches can look amazing (just make sure they're properly dried and pest-free). Salvaged timber posts work just as well.
- Hardware: You’ll need a mix of screws and brackets. For attaching odd shapes like branches, some robust heavy-duty shelf brackets can be a real lifesaver.
The Approach: This one is less of a fixed blueprint and more of a creative puzzle. Lay out all your found treasures and play around with how they might fit together. You’re aiming for a stable structure with staggered levels that are easy for your cat to climb.
Start with your heaviest, widest item for the base. Attach your posts or branches securely. Then, start adding your 'platforms' – the crates or drawers – making sure each one is fixed in at least two places so it can’t shift or twist.
For instance, you could fix a thick branch to a solid wood base, then attach a wine crate halfway up as a sheltered bed. A flat shelf fixed higher up could then serve as a lookout perch. Just remember to test for stability at every step. Give each part a good, firm wobble to check its strength before you move on.
Finally, add those all-important cat-friendly touches. Wrap any vertical posts or branches with sisal rope, and line the inside of your crates and platforms with old blankets or towels. You'll end up with a one-of-a-kind cat tower that has loads of character, built for next to nothing.
How to Make Your Cat Tower Safe and Sturdy
Let’s be honest, a wobbly cat tower isn't just a failed project—it's a genuine hazard. The last thing any of us wants is for our cat’s flying leap to send the whole thing crashing down. So, making stability your top priority right from the get-go is the most important part of your diy cat tower build.
The secret to a rock-solid tower really does start from the ground up. A wide, heavy base is your non-negotiable foundation for safety. It’s the anchor that has to counterbalance the height of the tower and the weight of your cat clambering all over it.
Designing a Fail-Safe Foundation
Your base needs to be both wide and weighty, it's as simple as that. A good rule of thumb I always stick to is making sure the base is wider than the very highest platform on the tower. This small detail dramatically lowers the centre of gravity and is your best defence against tipping.
For the material, think dense. A solid piece of 18mm plywood works brilliantly, and I’ve even glued a couple of layers together on bigger builds for extra heft. Some people have great success using reclaimed kitchen worktop offcuts—they're heavy and incredibly durable. Whatever you pick, its main job is to create an unshakeable footprint.
The ultimate test for any base is what I call the 'wobble test'. Before you even think about adding platforms, give the main posts a firm shove from a few different directions. If you see any significant movement or lift at the base, it needs reinforcing before you go any higher.
Think carefully about weight distribution as you build upwards. It makes a huge difference. Heavier bits, like enclosed sleeping boxes or wider platforms, should always be positioned lower down. You can then place the lighter, smaller perches higher up. This naturally helps keep the whole structure grounded and secure. It’s also a good idea to stick some non-slip furniture protection pads on the bottom, especially if the tower will be sitting on wooden or laminate floors.
Securing Every Joint and Platform
Strong connections are the glue—sometimes literally—holding your project together. This is no time to be stingy with screws. Never rely on a single screw where two or three would be better, because every joint is a potential weak point that needs proper reinforcement.
When attaching vertical posts to the base, I always use a combination of wood glue and long screws for a belt-and-braces approach. Drive screws up from the underside of the base, right into the core of the post. Then, for maximum stability, add heavy-duty L-brackets around the post. This double-whammy stops the post from twisting or working itself loose over time.
For the platforms, always use several screws driven down into the post. A triangular pattern of three screws gives you far more strength than just putting them in a straight line. Just be sure your screws are long enough to get a good, deep bite into the post without poking out the other side.
Choosing Cat-Safe Materials
Safety isn't just about the tower staying upright; it’s also about the materials you choose. Your cat will inevitably chew, scratch, and rub against every surface, so it's vital that everything is non-toxic.
Material Safety Checklist:
- Wood: Stick to untreated solid wood like pine or spruce, or a good quality plywood. I'd steer clear of MDF and particleboard, as they can contain formaldehyde-based glues which are harmful if ingested.
- Glues: If you're using any adhesive, double-check that it’s certified as non-toxic and either child-safe or pet-safe once it has fully cured. A standard PVA wood glue is usually a safe bet.
- Finishes: Should you decide to stain or seal the wood, only use a water-based, non-toxic product. Natural finishes like beeswax or tung oil are fantastic, safe alternatives that look great too.
Once you’re done, do a final, thorough safety inspection. Run your hands over every single surface, edge, and corner. Sand down any splinters or sharp edges until they're completely smooth. Hunt for any exposed screw heads or staple points, hammering them down or removing them entirely. The goal is a completely snag-free, splinter-free playground where your cat can play with absolute confidence.
Making It Their Own: Custom Touches and Future-Proofing
You’ve built the bones of a fantastic diy cat tower. Now for the fun part: turning that solid structure into a five-star feline resort. This is where you get to bring your creativity to the table and tailor the tower to your cat's quirky personality.
This stage is all about enrichment. A bare frame is functional, but a tower loaded with different textures, dangling toys, and secret spots becomes an adventure playground that will keep your cat happy and engaged for hours.
Adding Features Your Cat Will Actually Use
Take a moment to think about your cat. Are they a bird-watcher who loves a high perch? A shy kitty who craves a safe hideaway? Or a playful hunter who can't resist a dangly feather? Adding these elements is easy and makes a world of difference.
- Cosy Hideouts: For a cat who loves their own space, a simple box-like enclosure is a game-changer. You can knock one together with plywood offcuts and line it with an old, soft jumper to create a secure, comforting den.
- Tempting Toys: Drill a few small holes on the underside of your platforms and tie on some toys. Think feathers, sisal rope tassels, or jingly bells. Using a strong elastic cord adds a bit of spring-back action that cats find irresistible.
- Lazy Lounging Hammocks: A small fabric hammock slung between two posts offers a unique spot to chill. All it takes is a rectangle of sturdy canvas or fleece, secured with some heavy-duty eyelet screws.
Just be sure to attach everything securely. You want to encourage play, not create a snagging hazard.
A great cat tower is more than just furniture; it's a dynamic environment. Watch what your cat gravitates towards. You can always swap out toys and features later to keep things fresh and exciting, beating boredom before it even starts.
When it comes to covering the platforms, think about comfort and function. Soft fleece is brilliant for sleeping areas, while a scrap of low-pile carpet gives them the grip they need for confident leaps. Cutting these materials neatly can be a real pain. To get clean edges on fabric or carpet without it fraying everywhere, a good pair of electric portable scissors can honestly make the job a hundred times easier.
A Little TLC: Planning for Maintenance
You've put a lot of effort into this, so you want it to last. A bit of regular maintenance is all it takes to keep your DIY tower safe and appealing for years to come. Think of it as a quick weekly MOT.
Once a week, get the hoover out. Use the crevice tool to get into all the nooks and crannies where fur and dust love to hide. While you're there, give every platform and post a firm wobble. It’s the quickest way to find out if any joints are starting to work themselves loose.
Here's a quick checklist for your weekly inspection:
- Check the Fixings: Run your hand over the screws and brackets. If anything feels wobbly, grab a screwdriver and tighten it up straight away.
- Inspect the Sisal: Look for spots that are getting a bit shredded. Frayed rope is a good sign—it means it's being used!—but it will eventually need replacing.
- Examine the Fabric: Keep an eye out for any tears in the carpet or fleece that could snag a claw.
- Wipe and Clean: Give any wooden surfaces a wipe-down with a pet-safe cleaner and spot-clean fabrics as needed.
From experience, the sisal rope will almost certainly be the first thing to wear out. Don't worry, replacing it is a simple job. Just use pliers to pull out the old staples, unwind the worn rope, and wrap a fresh length tightly in its place. Secure it with a heavy-duty staple gun as you go, and the tower will feel brand new again to your cat.
Got Questions About Building Your Own Cat Tower?
Thinking about building your own cat tower is exciting, but it's natural to have a few questions before you start sawing. Let's get them answered now so you can get on with the fun part – building a castle for your cat.
Getting these details sorted from the start means you’ll end up with a cat tower that’s not just fun, but genuinely safe and a perfect fit for your furry overlord.
How Tall Should I Make My DIY Cat Tower?
For most cats, the sweet spot is somewhere between 1.5 and 2 metres tall (that's about 5 to 6.5 feet). This height is perfect for giving them that satisfying "king of the castle" perch without making the whole thing a wobbly hazard or taking over the entire living room.
Of course, think about your cat. If you’ve got a senior kitty with creaky joints or a wobbly little kitten, a shorter tower with easier, ramp-like levels is a much better shout. Whatever height you go for, the golden rule never changes: the base has to be wide and heavy enough to keep it completely stable. No wobbles allowed.
What’s the Best Wood to Use?
You can't go wrong with solid pine or good-quality untreated plywood. Both are strong, easy to find at places like B&Q or your local timber yard, and won't break the bank. They're tough enough to handle years of leaping, scratching, and general cat chaos.
I'd steer clear of materials like MDF or particleboard. They tend to sag and crumble over time, especially if they get wet, and the glues they're made with aren't always great for cats who might have a little nibble.
My top tip? Always use untreated wood. This way, you know for sure there are no nasty chemical preservatives or finishes that could harm your cat. Using reclaimed solid wood is another brilliant, eco-friendly option that often adds a bit of unique character to your build.
What Carpet and Rope Are Cat-Safe?
When you’re picking the materials your cat will be sinking their claws into, texture and safety are everything.
- Rope for Scratching: Natural sisal rope is the absolute gold standard. It’s tough, has a fantastic texture for a good scratch, and cats love it. I find an 8-10mm thickness is perfect for wrapping posts.
- Fabric for Lounging: For all the comfy spots, low-pile carpet remnants are a fantastic choice. The short fibres mean your cat’s claws won't get snagged and stuck, which can be a real problem with shaggy carpets. Soft fleece is another great option for making those nap spots extra cosy.
When you're attaching everything, use a certified non-toxic glue or, my personal preference, stainless steel staples. Just make sure you hammer the staples in completely flush so there are no sharp bits sticking out.
How Much Money Will I Actually Save?
Honestly, you can save a packet. A half-decent cat tree from a pet shop can easily cost you anywhere from £70 to well over £150 in the UK. By going the DIY route, you can often build something bigger and better tailored to your cat for a lot less.
Even if you have to buy all your materials new, you’ll likely save at least 50% compared to a shop-bought tower of the same size and quality. And if you're a bit savvy with sourcing – using reclaimed wood or some carpet offcuts – you could easily build an amazing cat tower for under £40.
At Deal For Any Occasion, we provide a wide range of affordable tools and hardware to help bring your DIY projects to life. Find everything you need to build the perfect cat tower at https://dealforanyoccasion.com.