


Fix Hole in Wall Like a Pro: A Simple DIY Guide
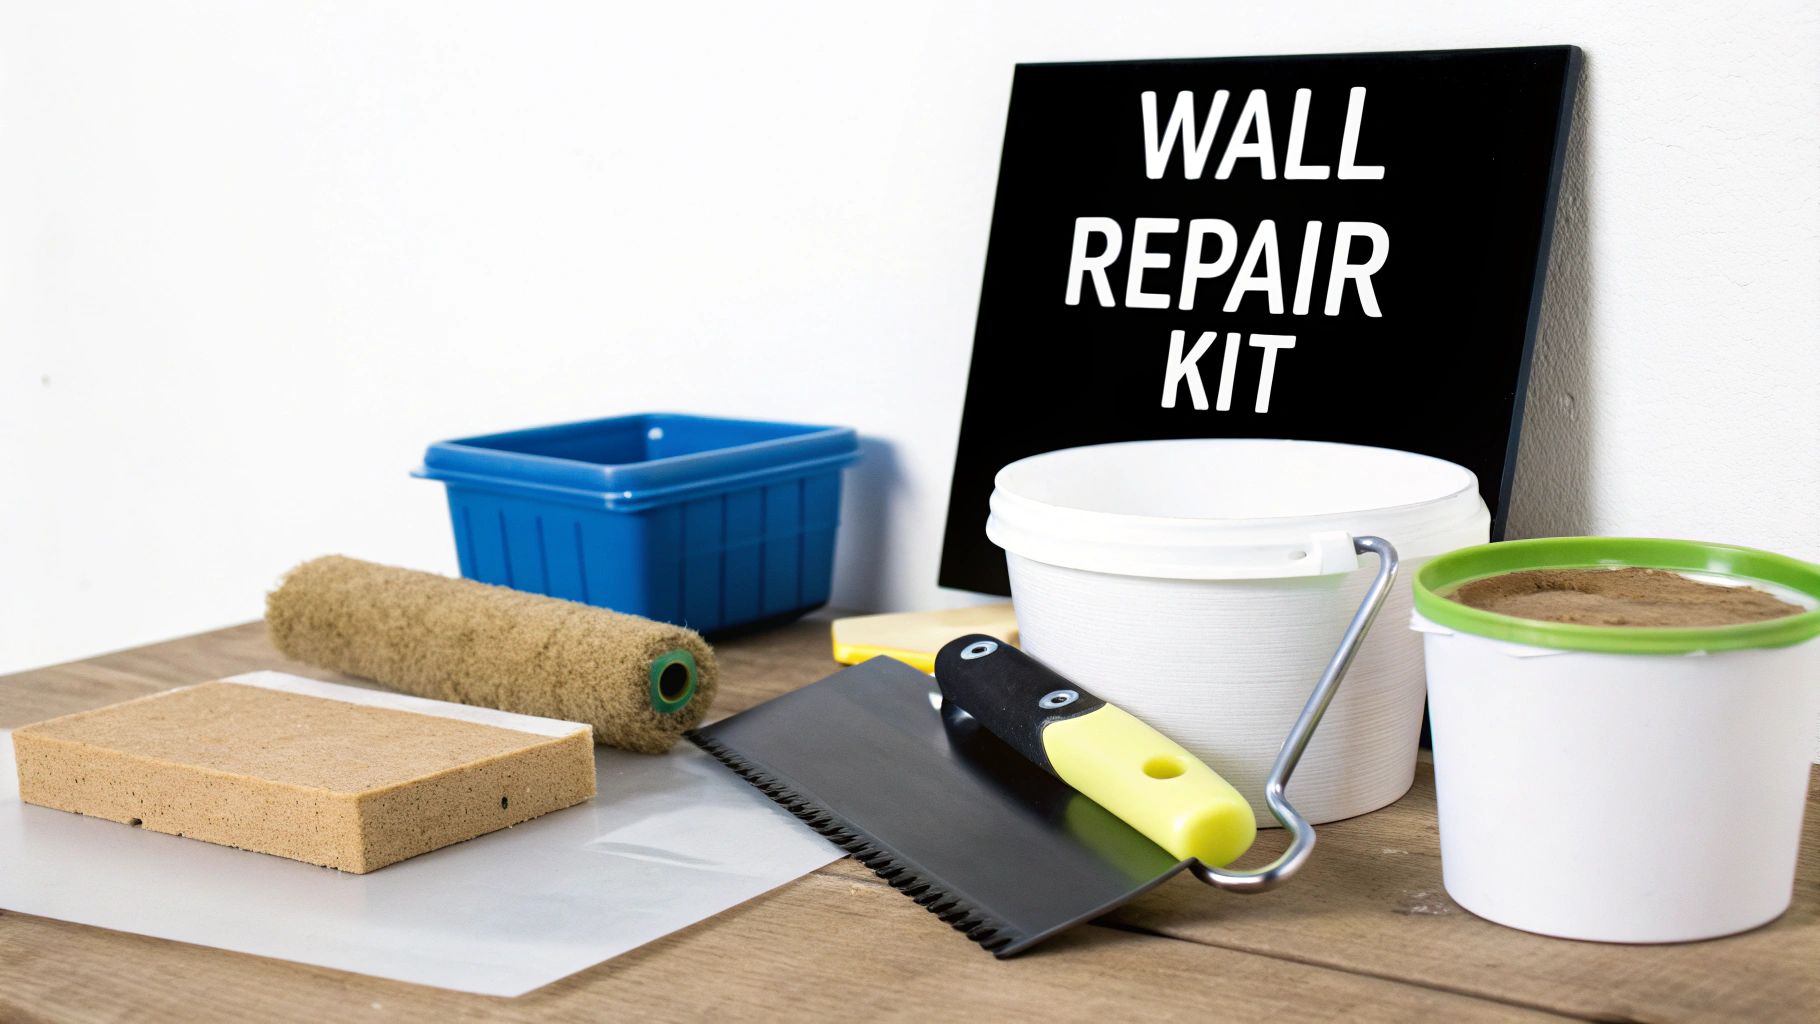
Before you can fix a hole in a wall, you need the right kit. The secret to a repair that genuinely disappears isn't some complex technique—it's having the proper tools and materials lined up before you even start. This is the difference between a quick, satisfying job and multiple frustrating trips to B&Q.
Gathering Your Wall Repair Essentials
A basic setup for small jobs—think pinholes and screw pops—will include a good quality filler, a flexible filling knife, a sanding block, and some primer. It's simple, but it gets the job done right.
The first choice you'll make is your filler, and it’s a crucial one. Your local DIY shop will have shelves full of options, but they generally fall into two camps:
-
Ready-mixed filler: This is your go-to for convenience. It comes in a small tub, ready to go straight out of the pot. It’s absolutely perfect for beginners tackling minor scuffs or filling a few old picture hook holes. No fuss, no mess.
-
Powder filler: This stuff requires a bit more effort as you have to mix it with water, but the payoff is a far stronger, more durable repair. I always reach for powder filler for anything bigger than a nail hole because it sets harder and often dries quicker.
Choosing Your Tools Wisely
Beyond the filler itself, a decent set of flexible filling knives is a must. A common mistake is using a knife that’s too small. You want one that’s wider than the hole you're filling; this lets you "feather" the edges of the filler, smoothing it out so it blends seamlessly into the wall around it.
For sanding, a 120-grit sanding block or paper is the sweet spot. It's got enough bite to smooth the filler down perfectly but is fine enough that you won't accidentally gouge the surrounding wall.
When you're dealing with anything larger than a 50p piece—say, a hole from a doorknob—you need to bring in reinforcements. This is where a self-adhesive mesh patch comes in. You simply stick it over the hole to create a solid base for the filler to grab onto. Skipping this step on a bigger hole is just asking for the filler to crack or fall out down the line.
A well-stocked toolkit is a DIYer’s best asset. Having everything from dust sheets to the right grade of sandpaper on hand transforms a potentially messy task into a controlled, satisfying project.
Your Wall Repair Toolkit Breakdown
So, what do you absolutely need versus what's just nice to have? Here’s a quick breakdown to help you build your kit.
| Tool or Material | Purpose | When It's Essential | When It's Optional |
|---|---|---|---|
| Filler (Spackle) | Fills the hole or crack. | All repairs. | N/A |
| Filling/Putty Knife | Applies and smooths the filler. | All repairs. | N/A |
| Sanding Block (120-grit) | Smooths the dried filler. | All repairs. | N/A |
| Primer | Seals the filler before painting. | All repairs. | N/A |
| Self-Adhesive Mesh Patch | Reinforces larger holes. | Holes larger than 2 inches. | Small nail holes, scuffs. |
| Utility Knife | Trims away loose debris. | All repairs, for proper prep. | If the edges are already clean. |
| Dust Sheets | Protects floors and furniture. | Any indoor repair. | Very minor touch-ups. |
| Dust Mask | Protects you from dust particles. | Any time you're sanding. | N/A - always a good idea! |
Having these bits and pieces ready makes the entire process smoother and gives you that professional-looking finish we’re all after.
Tackling jobs like this is becoming more and more common. In the UK, the home improvement market was recently valued at around £11.2 billion and is expected to climb to £16.67 billion by 2033. That tells you just how many of us are rolling up our sleeves and doing it ourselves.
With the right supplies laid out, you're set up for a flawless repair. If you're looking for great value on tools to get you started, have a look at our collection of DIY essentials.
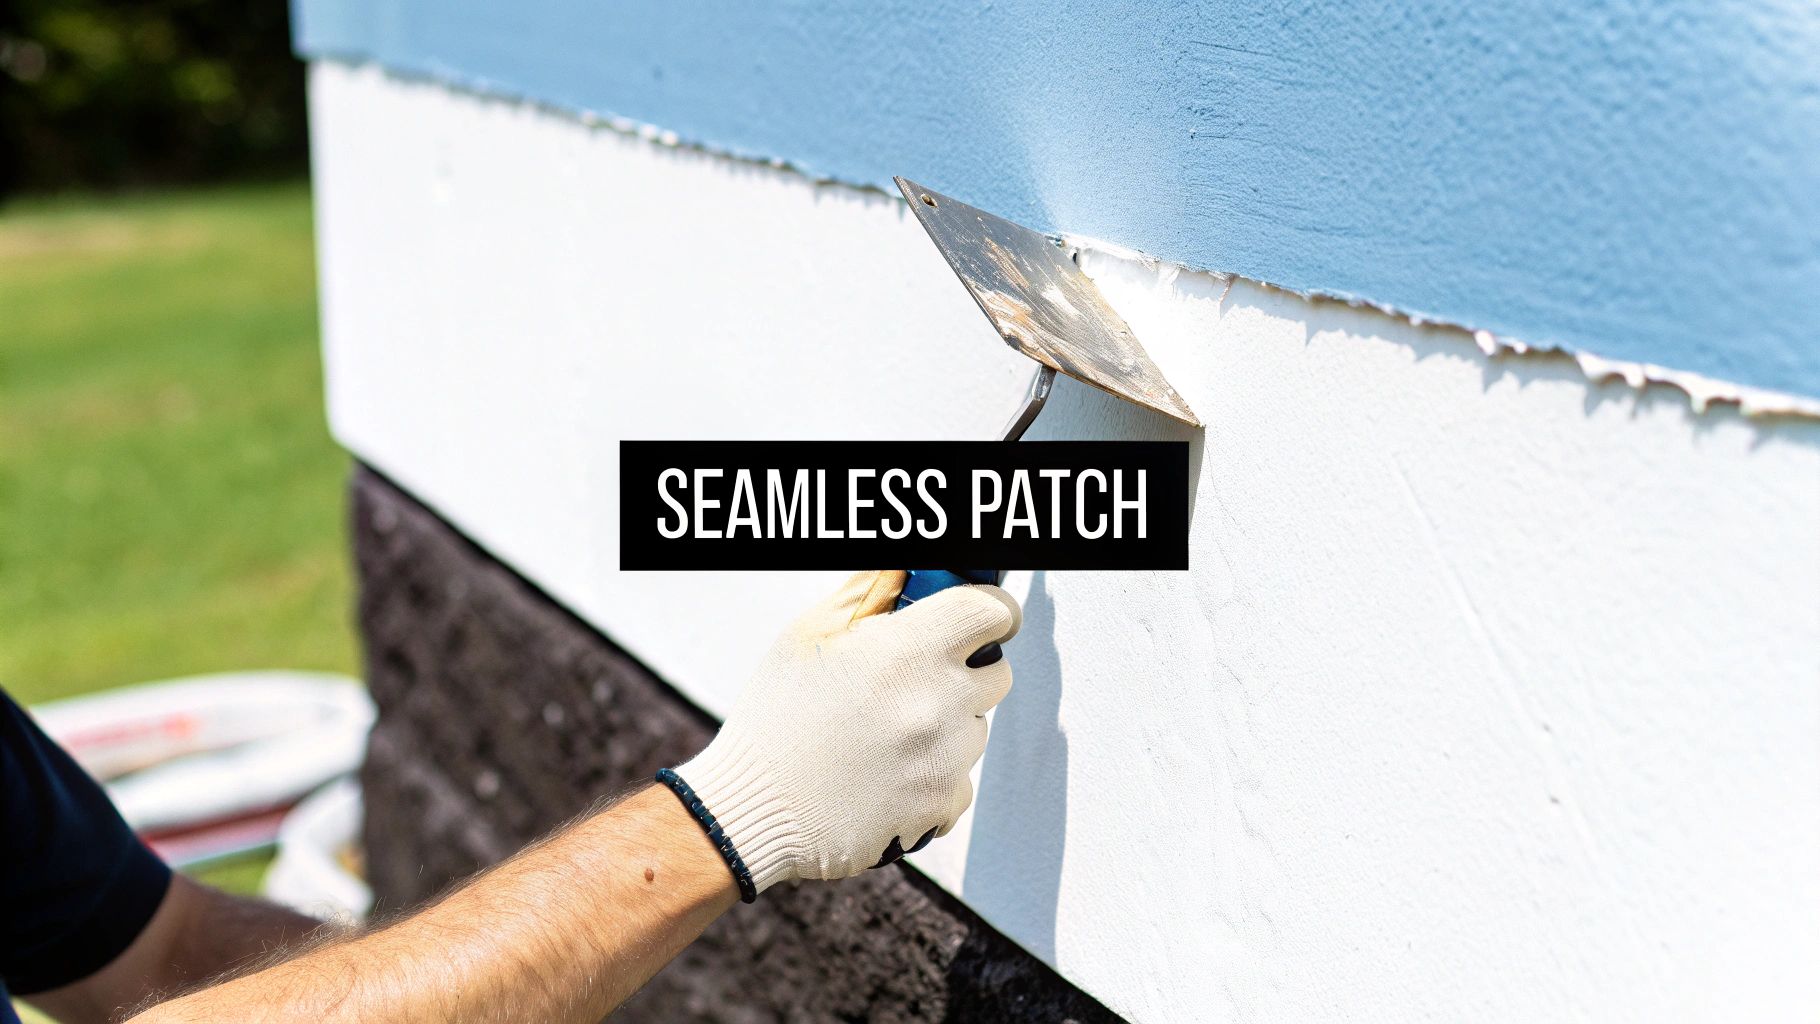
Making Small Holes and Scuffs Disappear
Let's start with the most common culprits: those little pinholes from picture hooks, screw marks where a shelf used to be, and the odd scuff from moving furniture around. They might seem trivial, but a collection of these small imperfections can make an entire room feel tired and uncared for. The good news? Sorting them out is one of the quickest and most satisfying DIY jobs you can do.
It’s tempting to just slap a bit of filler over the mark and hope for the best, but that's where most people go wrong. Proper prep is the secret ingredient that turns an obvious patch into a completely invisible repair. Rushing this first part is probably the number one reason DIY fixes don't look professional.
Before you even think about opening a tub of filler, grab a utility knife. Carefully trim away any loose bits of paint, plaster, or frayed plasterboard paper from around the hole's edge. What you're aiming for is a clean, slightly angled (or bevelled) edge. This gives the filler a solid foundation to grab onto. Once you're done, a quick wipe with a dry cloth gets rid of any dust.
Applying Filler for a Flawless Finish
With the area prepped and clean, it’s time for the filler. A flexible filling knife is your best friend here. Make sure you use one that's a bit wider than the hole itself, as this lets you spread the filler smoothly in one go.
Scoop a small amount onto the tip of the knife and press it firmly into the hole. You want to make sure it’s completely filled in. Then, hold your knife at a shallow angle to the wall and drag it across the surface to level it off. My advice is to leave the filler ever so slightly proud of the wall surface. It tends to shrink a tiny bit as it dries, and this little trick prevents a tell-tale dip from forming later.
Pro Tip: I always keep a damp cloth nearby for a top-tier finish that barely needs sanding. After you've applied the filler, wipe your knife clean, then use the damp cloth to gently feather the edges of the repair. This blends it seamlessly into the surrounding wall.
The product you choose really matters. For these small-scale jobs, you can't go wrong with a good quality, ready-mixed filler. If you want something reliable, a flexible filler and interior caulk like this one is an excellent choice. It creates a tough, crack-resistant finish that can handle the tiny movements a house naturally makes. Find a good option here: https://dealforanyoccasion.com/products/flexible-filler-quick-drying-interior-caulk-acrylic-300ml-white-decor-repair
Sanding and Final Touches
Patience is key now. Let the filler dry completely—check the tub for timings, but you’re usually looking at 30-60 minutes. Once it's rock hard, you're ready for the final touch.
Grab a 120-grit sanding block and lightly sand the repaired spot. I find gentle, circular motions work best. You’re not trying to scrub it away, just to get the filled area perfectly flush with the rest of the wall. Avoid pressing too hard, or you risk sanding a dip into your repair or scuffing the surrounding paintwork.
The ultimate test? Run your fingers over it. If you can’t feel where the patch begins and the wall ends, you’ve nailed it. Give it a final wipe to remove the sanding dust, and you’re all set for a dab of primer and a lick of paint. Just like that, the damage is gone for good.
Patching Medium-Sized Wall Damage
When you're dealing with damage that's more serious than a simple nail hole, you need to step up your game. I'm talking about those more obvious eyesores – maybe where a doorknob has slammed into the wall, a corner of furniture has gouged out a chunk, or you've removed an old light fixture. For these kinds of repairs, you can't just slap on a load of filler and hope for the best. It'll almost certainly crack or even fall straight out.
The filler needs a solid foundation, which is where a wall patch proves its worth. It provides the structural support for a repair that's built to last. For most common medium-sized holes (anything from the size of a 50p piece up to about the size of your fist), a self-adhesive fibreglass mesh patch is your best bet. They’re brilliant – just stick one over the hole, and the mesh gives the filler something substantial to grab onto.
Getting the Wall Ready for a Patch
Before you even touch that patch, getting the prep work right is absolutely crucial. A clean, smooth surface is the only way to guarantee the patch sticks properly and the final repair sits perfectly flush with the wall.
First things first, clear out any loose bits of plaster or crumbling plasterboard from inside and around the hole. A utility knife is perfect for carefully trimming away any frayed paper or jagged edges.
Next, give the area around the hole a quick once-over with 120-grit sandpaper. You’re not trying to strip the paint off; you just want to create a slightly rough 'key' so the patch's adhesive can get a really firm grip. Once that's done, wipe every last bit of dust away with a clean, dry cloth.
I can't stress this enough: applying a patch to a dusty or uneven wall is a recipe for disaster. The patch will almost certainly peel or bubble up later on, and you'll have to start all over again. A couple of minutes spent on prep will save you a massive headache.
With the wall clean, peel the backing off your mesh patch and place it squarely over the damage. Press it on firmly, working from the centre outwards to push out any trapped air. The patch should be lying completely flat against the wall, with no bumps or wrinkles.
Applying Filler Over the Patch
This is where the magic happens. The real secret to making a repair completely disappear is to apply several thin layers of filler, not one big, thick glob. A thick coat takes an age to dry, is notorious for shrinking and cracking, and is an absolute nightmare to sand smooth.
Grab a flexible filling knife that's a bit wider than your patch. Scoop up a small amount of filler and apply a thin, tight coat directly over the mesh. The aim here is to push the filler through the mesh holes, forcing it into the gap behind. This ensures the filler and patch bond together properly. Scrape off any excess, leaving a smooth surface.
Don't worry if you can still see the mesh pattern through this first layer – that's completely normal.
Let that first coat dry completely. Once it’s solid, you're ready for the second coat. This time, apply it slightly wider than the first, and focus on ‘feathering’ the edges.
What is Feathering?
Feathering is just the technique of thinning out the filler at the edges of your repair so it blends seamlessly into the rest of the wall.
- Start by applying the filler over the centre of the patch.
- Hold your filling knife at a fairly low angle and draw it outwards, past the edges of the first layer.
- As you move away from the centre, ease up on the pressure.
This feathering technique is what prevents you from ending up with a hard ridge or a visible outline around your patch. Depending on the hole, you might even need a third thin coat to get it perfectly level. Just remember to let each layer dry properly before adding the next.
Having the right tools for the job makes a world of difference. You can find good-quality carbon steel putty knives that have the flex you need for this kind of work. Once your final coat is bone dry, a final light sanding is all it needs before you're ready for a spot of primer and paint.
Tackling Large Holes in Plasterboard
When a doorknob smashes into the wall or an accidental bash leaves you with a proper, gaping hole, it's easy to think you need to call in a professional. But with the right approach, you can fix it yourself and get a finish that's just as good as the original. The technique we use for this is often called the 'cut and replace' method, and it’s the gold standard for a permanent, rock-solid repair.
The basic idea is simple: we're going to cut out the damaged section and replace it with a brand-new piece of plasterboard. This is a far more robust solution than just trying to fill a huge void. It might sound a bit full-on, but it's the only way to guarantee a strong, seamless fix that won’t crack down the line.
Preparing the Damaged Area
First things first, we need to turn that messy, irregular hole into a clean, workable shape. Grab a spirit level and a pencil and draw a neat square or rectangle around the damaged area. Make sure to give yourself a decent margin—I usually aim for at least 2-3 inches of clean, undamaged plasterboard on all sides.
Now, carefully cut along those pencil lines using a plasterboard saw or a sharp utility knife. The key here is to take your time and keep your cuts as straight as you can. Once you're all the way through, you can gently pop the damaged section out. What you’re left with is a perfect rectangular opening, which gives you a clear view of the wall cavity and any timber studs inside.
Installing Timber Supports for a Solid Anchor
Your new plasterboard patch needs something to screw into, and this is where a little bit of internal framing makes all the difference. If you're lucky, the hole might fall perfectly between two existing wall studs, but that's rarely the case. More often, you’ll need to add your own timber supports. Don't worry, it's much easier than it sounds.
Here’s the process:
- Cut Timber Batons: Measure the height of the opening you just cut. Now, cut two pieces of timber (a simple 2x1 inch baton is perfect for this) so they are about 4-6 inches taller than that measurement.
- Position the Supports: Take one baton and slide it into the wall cavity, positioning it behind one of the vertical edges of your hole. You want it so that half the timber's width is showing in the opening, giving you a solid surface to fix your patch to.
- Secure the Batons: Drive a few plasterboard screws through the existing wall and into the timber baton to lock it in place. Then, just repeat the process on the other side. You've now created a sturdy new frame inside the wall.
I’ve learned from experience that trying to attach a patch without solid backing is a waste of time. The patch will flex, the filler will crack, and you’ll be redoing the job in a few months. Adding these simple timber supports is the most critical step for a lasting repair.
The diagram below shows the core stages you'll follow for any decent wall patch, from getting it prepped to the final finish.
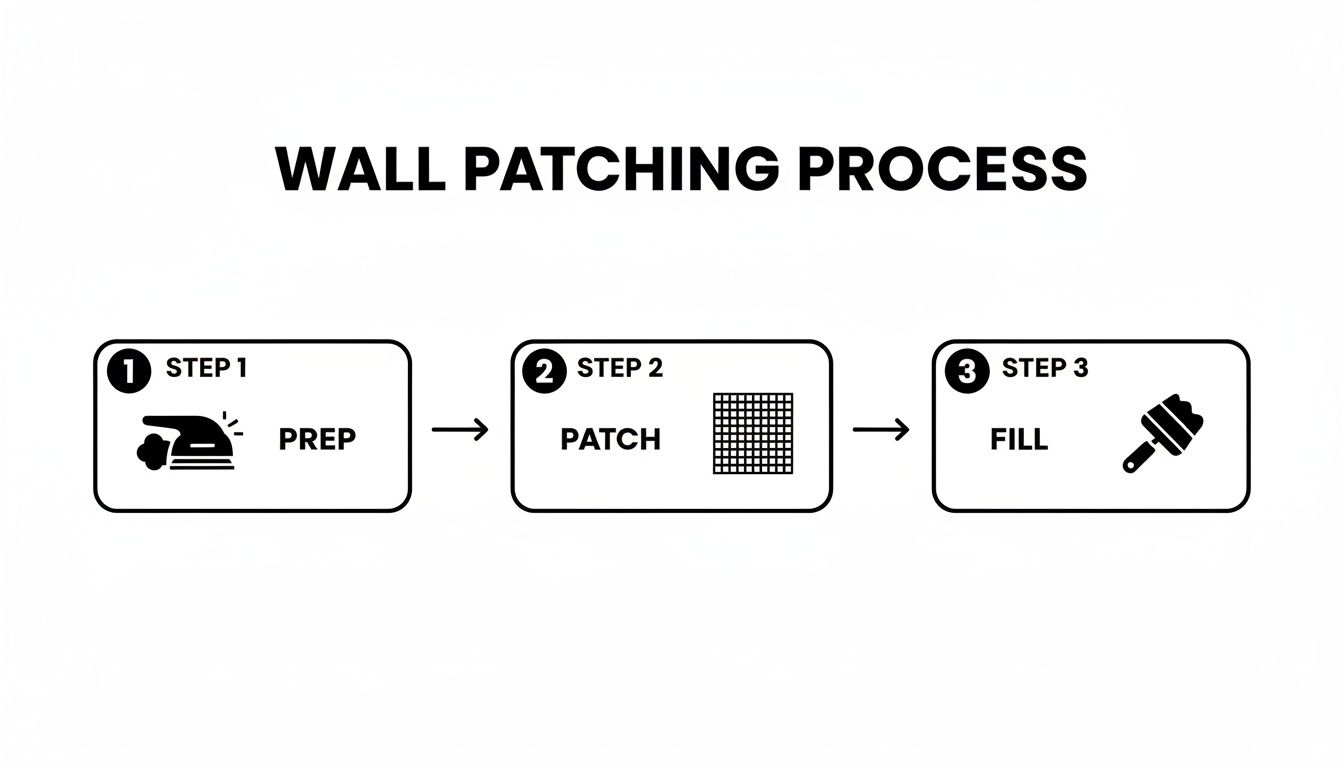
This simple Prep, Patch, Fill flow really drives home the point that a great finish is built on a solid foundation. In this case, that foundation is your securely-fitted patch.
Fitting the New Plasterboard Patch
With your supports firmly in place, it’s time to cut the new plasterboard. Measure your rectangular opening carefully and cut a patch to the exact same dimensions. It's always a good idea to test the fit before you fix it permanently—it should slide in snugly without being forced.
Once you’re happy with the size, pop the patch into the hole. Secure it by driving plasterboard screws through the patch and into the timber supports you just installed. I usually put a screw in every 6 inches or so along the supports to make sure it's completely solid. The patch should now be sitting flush with the surrounding wall, ready for finishing.
From this point, the process is very similar to fixing a medium-sized hole. You'll tape the seams with jointing tape, apply thin layers of filler, and feather out the edges to blend it all together. With a bit of careful sanding and a fresh coat of paint, the damage will completely disappear.
The Art of Sanding and Painting for an Invisible Finish
With the filler applied and fully cured, you’re almost at the finish line. But don't rush these final steps. The care you take with sanding and painting is what will make the repair genuinely disappear, rather than just looking like an obvious patch-up.
Grab a 120-grit sanding block or a piece of fine-grit sandpaper. The idea here isn't to be aggressive; you just want to gently smooth the filled area until it’s perfectly level with the rest of the wall. I find that light, circular motions work best.
The real secret is to feather the edges. This means you sand slightly over the edges of the patch onto the original wall. This creates a soft, gradual transition that you can't feel when you run your hand over it.
Why You Can't Skip Priming
Once you’ve wiped away all the dust with a damp cloth, you need to prime the patch. I know it’s tempting to go straight to painting, but trust me, skipping the primer is the biggest reason repairs stand out.
Filler is like a sponge—it's far more porous than the painted wall around it and will drink up paint. Without a layer of primer to seal it, the patched spot will always look dull and flat, a tell-tale sign of a repair known as ‘flashing’.
A quick coat of primer creates a uniform base, so your topcoat of paint goes on evenly and looks consistent.
An invisible repair is all about texture and light. Priming equalises the surface porosity, so light reflects evenly off the patched area and the original wall, making the fix truly disappear.
Matching the Paint for a Flawless Result
Now for the final touch: the paint. To get a perfect result, you need to use the exact same paint that's already on the wall. If you have some of the original tin left, you're in luck. If not, you might need to take a chip of the old paint to a DIY store to get a colour-matched sample.
Remember to match the sheen as well as the colour. A matt paint on a silk wall will stick out like a sore thumb.
To apply it, use a small roller to replicate the stippled texture of the original paint job. A simple paint roller kit with mini foam sleeves is perfect for these small touch-ups. Two thin coats are always better than one thick one. Let the first dry completely before applying the second, and your wall will look brand new.
Your Common Wall Repair Questions Answered
Even with the best instructions, you're bound to have a few questions when you're staring at a hole in the wall. It’s completely normal. We've pulled together the most common queries we hear from homeowners to give you clear, straightforward answers before you get started.
People often ask if a DIY repair is really the best way to go. While the pros still handle the big jobs—the UK plastering industry is set to generate around £3.3 billion in revenue—rising costs are definitely pushing more of us to tackle smaller fixes ourselves. You can see more on UK building tender price forecasts on ibisworld.com.
Why Did My Filler Crack or Sink?
Ah, the classic question. If you’ve ever had a repair shrink back into the wall or develop hairline cracks, it's almost always down to one of two culprits: applying the filler too thickly or not mixing it correctly.
- Applying too much at once: The key is to build it up in thin layers. Let each one dry completely before adding the next. This prevents the filler from shrinking as it cures.
- An incorrect mix: If you're using a powder filler, stick to the instructions on the packet like glue. A watery mix will be weak and shrink far more than it should.
The good news is that a sunken patch is an easy fix. Just apply one more thin layer, feathering the edges out, and give it a final light sand once it's dry. That should bring it perfectly level.
A successful repair is less about speed and more about patience. Allowing each layer of filler to cure properly is the single best way to prevent cracks and achieve a durable, long-lasting finish.
Another frequent concern is spotting bigger problems hiding behind a small hole. If you see any damp patches or discolouration, that’s a red flag for an underlying issue like a leaky pipe or condensation. Patching over it is just a temporary fix that won’t solve the root cause. It's a good idea to read our guide on how to properly deal with mould and damp before you even think about cosmetic repairs.
At Deal For Any Occasion, we have all the essential tools and supplies you'll need to get a professional-quality finish on your next DIY project. Explore our full range of affordable hardware and get everything delivered straight to your door by visiting us at https://dealforanyoccasion.com.
Article created using Outrank